01
Photograph
Start with a top-down photo of your tool on paper.
 tracetoforge.
FROM PHOTO TO CUSTOM INSERT
Turn a photo of your tools into an insert made for your workspace.
Free tracing and preview. Export with credits.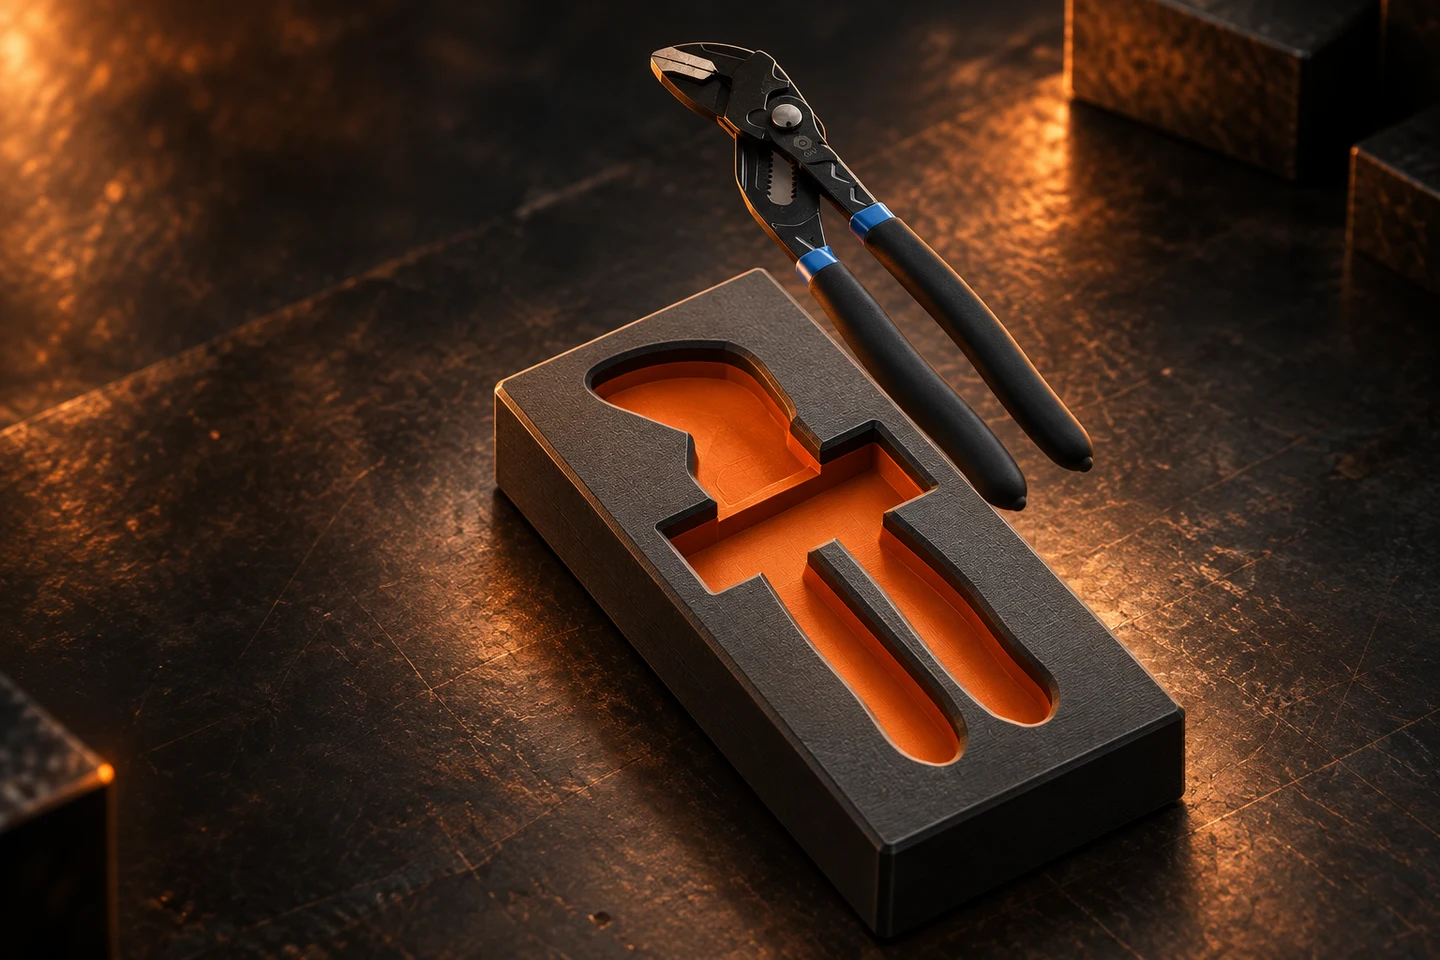
ONE TOOL. THE FULL PROCESS.
Follow the same pair of pliers through the original workflow. Select any image to see it in full.
Start with a top-down photo of your tool on paper.
Inspect the detected outline and adjust the trace.
Review the insert in the program before exporting.
Open the exported model in your slicer to prepare the print.
FOUR WAYS TO MAKE IT
Choose an output mode in the editor, then shape it around the job at hand.
01 / Object
Turn your traced shape into a 3D object. Set its dimensions and thickness.
02 / Tray
Arrange tool cavities in a custom tray. Adjust the tray size, depth, and walls.
03 / Gridfinity
Create a tool insert for your Gridfinity setup, with adjustable grid size and a stacking lip.
04 / Gasket
Start with the flat gasket preset. Export SVG or DXF for a cutting template.
Preview your design in the editor. Export when you’re ready.
Explore the editor ↗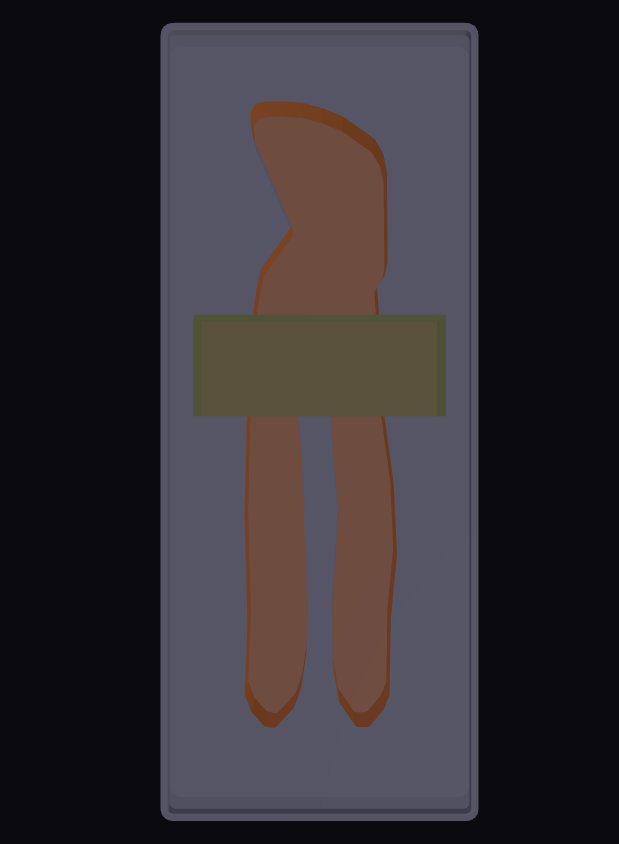
BUILT FOR WHAT YOU MAKE
Set real dimensions and tolerance. Rotate and position your tools, clone a shape, and inspect the result in 3D.
Make it easier to grab. Add finger notches and a bevel around the cavity opening.
Lay out the whole tray. Combine multiple tools and adjust their positions.
Try these controls with a sample ↗YOUR NEXT DESIGN STARTS AHEAD
Keep your own tool shapes close, or start with a trace someone else has shared.
Save a traced tool with its dimensions and edits. Load it into another design when it’s time for a new tray.
Open editor → My Library ↗Sign in to save and load your personal tools.Browse shared tool shapes and load one into the editor as a starting point for your own layout.
Browse community traces ↗Browsing is open to everyone. Exports use credits.TEMPLATES FOR THE BOXES YOU OWN
These boxes have ready-made templates in the editor. Don't have one yet? Grab it here.
48-22-8435
Template ready in the editor. The fit is already measured.
48-22-8436
Template ready in the editor. The fit is already measured.
48-32-9921
Template ready in the editor. The fit is already measured.
DWST08165
Template ready in the editor. The fit is already measured.
As an Amazon Associate I earn from qualifying purchases.
AT THE WORKBENCH
Practical guides for getting from your first photo to a design you can make.
YOUR NEXT WORKSHOP PROJECT
Start with a sample. Bring your own tools next.